|

| Print this page - use Landscape |
Search the WeetHet Pages |
|||
| WeetHet is being updated! - Current articles will slowly move to www.tweaking4all.com For excellent webhosting that is reliable and affordable, we highly recommend: LiquidWeb |
||||
|
On this page ...
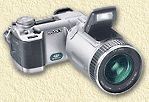
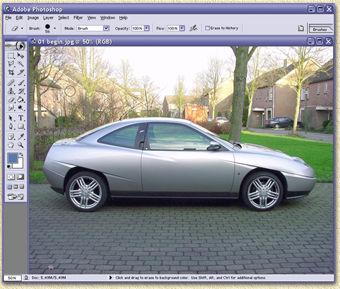
Stap voor Stap 1. Make a pictuire of your car ... You can either do this with a digitale camera (it's really cool to work with a digital camera, specially when you're using such a model as Richard and I have, the Sony Cybershot) ... or you can use a classic camera and scan the picture using a flatbed scanner... 2. Open the picture in Adobe Photoshop. Use either "drag'n'drop" or select "Open" from the "File" menu.
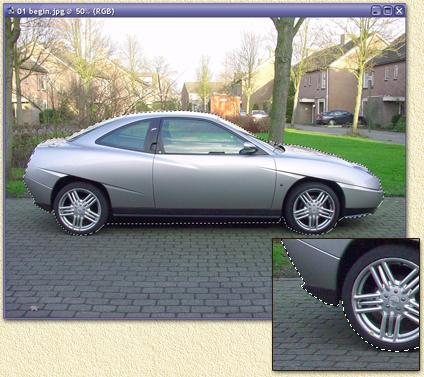
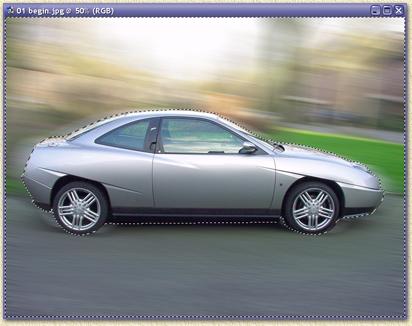
3. Now we are about to select the car using the Polygonal Lasso Tool. Before we star, set "feather" to 3 px so the edges will be smooth.
Start by clicking on the contour of the car and keep clicking (with the left mousebutton) until you selected the entire car. When the mouse is getting close to your strating point, a little "o" will appear next to the mouse pointer indicating that Photoshop is able to close the selection.
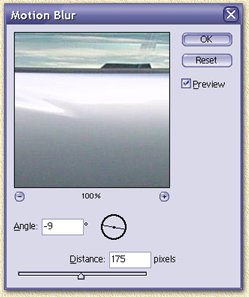
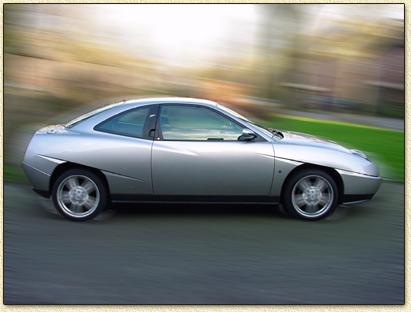
Go to the menu "Select" and choose the option "Inverse", alternatively you can press the key-combination SHIFT+CTRL+i. 5. Let the car move. Choose form the menu "Filter", the option "Blur" -"Motion Blur".
Set "Angle" to -9 degrees for a moving effect. You could use +9 degrees but that would give the impression that the car is moving backwards. Experiment a bit with this value, I've seen -2 and -4 doing nice stuff as well. You will need to enter a "Distance" as well. The value will be different for each picture, since it depens on the dimensions of the picture. In this example we used 175 px.
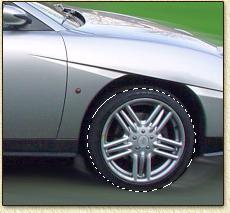
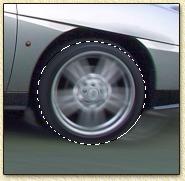
6. Making the wheels spin. It;s a weird sight,... driving very fast but your wheels aren't spinning. So we are going to use the "Elliptical Marquee Tool" to select a wheen and make it spin.
The easiest way to go about is by making a simple circle. Next use the option "Transform selections" from the "Select" menu to resize/move the selection.
We will deal with one wheel at a time. To make the wheel spin, we select from the "Filter", the option "Blur" - "Radial Blur". In the upcoming window we need to enter some settings: "Amount" will be set to 25 and "Method" will be set to "Spin". Now click "OK". The wheel is now spinning. For the second wheel we simply drag the selection to that wheel. Press the key combination CTRL+F or repeat the steps as off the menu "Filter" (CTRL+F will do this automatically).
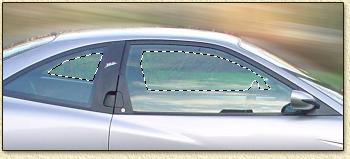
The finishing touch, maybe you didn't notice but the background seen through the windows is nog moving at all... select these areas and repeat steps 3 and 5 (so we skip the "Inverse" selection!).
9 . And there you have it ....
It's to bad we
forgot the put a driver in there ... so either past one to it or make
a picture with the driver in the car before you begin :) |
||||